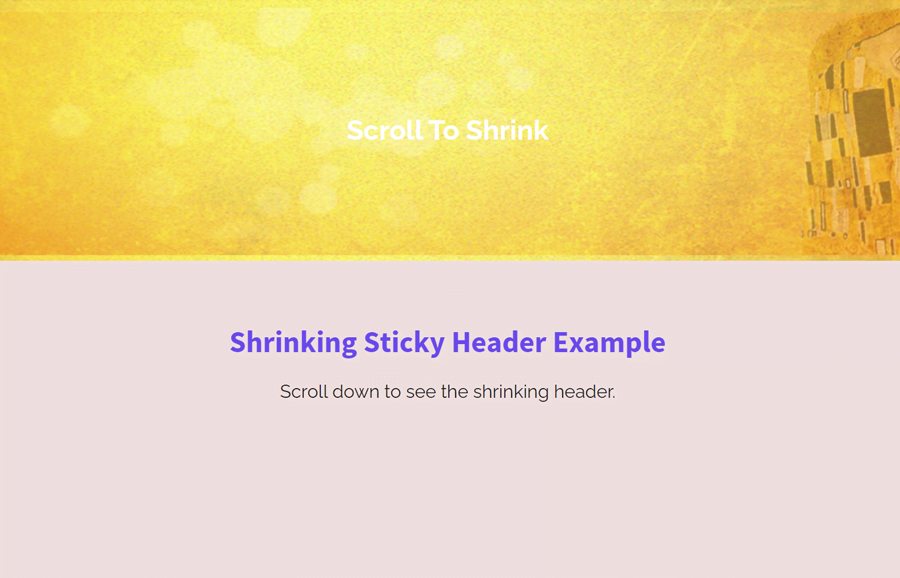
There are many effects for the sticky header menu that can be revealed on scroll event. A shrinking header animation is one of the best of these animations to shrink a thick header and fixed it on the top of the webpage. In this tutorial, we are going to create a shrinking sticky header with a logo placeholder that shrinks on the window scroll event.
The logic to make a shrinking sticky header is that we’ll make a header element keeping fixed on the top of the page. After that, we’ll define some basic CSS styles for this header along with having some extra padding. We’ll define another class that has some padding (shrank) and add this class using jQuery on the window scroll event.
Before going further, let’s have a look at the demo page to see the shrinking header in action. There you can see how the header shrinks when you scroll down the page. The size of the header, shrinking speed/smoothness, and background can be customized according to your needs. So, let’s start to integrate it into your project.
Making Sticky Header with Logo
First of all, we’ll create a simple header for the webpage. Basically, it’s an empty container for the navigation links and logo. On the other hand, you can also place any other HTML element inside it. The main purpose of making this header element to shrink it on the scroll.
So, create a header element and place the following mentioned div elements inside it. Similarly, create the <main> tag for the main content of your site just after the header.
<header>
  <div class="header-box">
    <div class="row">
      <!-- Logo Section -->
        <div class="logo">
          <h1>Scroll <i class="fa fa-hand-o-down" aria-hidden="true"></i> To Shrink</h1>
        </div>
    </div><!-- /row -->
  </div><!-- /container -->
</header><!-- /header -->

<main>

<!-- Your Main content goes here -->

</main>
Place your logo inside the <div class="logo"> element and your page content between the <main> and </main> tag.
Styling the Header with CSS
Before styling the header, define some basic styles for the webpage body to get things ready. These styles are optional, anyhow you just need to set the 0 value for the body’s margin and padding. The other CSS properties, like background, font-size, and font-family can be defined according to your requirements.
body {
	background: #f9f9f9;
	height: 100%;
	color: #444;
	font-family: 'Lato', sans-serif;
	font-size: 12px;
	line-height: 1.5;
	margin: 0;
	-webkit-font-smoothing: antialiased;
}
Now, specify the CSS styles for the header element. Use the CSS position fixed property along with 0 value for the top and left to make it sticky. Likewise, define its 100% width and set the background image. Here the important property is the "overflow" that should be hidden. Another important property is the CSS transition for the smoothness of the shrinking effect.
header {
	position: fixed;
	top: 0;
	left: 0;
	width: 100%;
	background-image: url('../img/top-header-background.jpg');
	background-size: 100%;
	color: #fff;
	z-index: 1000;
	overflow: hidden;
	transition: height 0.3s;
	text-align: center;
}
The "header-box" class is the inner wrapper of the header element that contains the logo and place for navigation links. Define its hundred percent width and padding value that will be shrunk on the scroll event. Also, specify the transition value for the smoothness of the padding property. You can set the custom duration (in seconds or milliseconds) for slow/fast transition.
.header-box {
	width: 100%;
	margin: auto;
	padding: 100px;
	text-align: center;
	transition: padding 0.3s;
}
When we have a large header fixed on the top of the page, it definitely covers the content behind it. We need to leave some space after the header element to solve this issue. So, define the CSS margin-top property for the main wrapper and set its height according to the height of the header.
main {
	height: 2000px;
	margin-top: 260px;
}
The "logo" class is the wrapper for your site’s logo. So, define some basic styles for the logo and define the padding value for the "smaller" class that will be added to the header to shrink it.
.logo h1 {
	padding: 0;
	margin: 0;
}

.smaller {
	padding: 10px;
}

.and {
	font-size: 80px;
}
jQuery to Shrink Header on Scroll
First, load the jQuery into your HTML page by adding the following CDN link.
<!-- jQuery -->
<script src='https://cdnjs.cloudflare.com/ajax/libs/jquery/3.1.0/jquery.min.js'></script>
Finally, add the following jQuery function that shrinks the header on the scroll event.
$(function(){
 //the shrinkHeader variable is where you tell the scroll effect to start.
 var shrinkHeader = 70;
  $(window).scroll(function() {
    var scroll = getCurrentScroll();
      if ( scroll >= shrinkHeader ) {
           $('.header-box').addClass('smaller');
        }
        else {
            $('.header-box').removeClass('smaller');
        }
  });
function getCurrentScroll() {
    return window.pageYOffset || document.documentElement.scrollTop;
    }
});
That’s all! hopefully, now you are able to create a shrinking sticky header with logo on scroll event. If you have any questions or suggestions, let me know by comment below.

Nice example!
Only issue I’m having is when navigating from another page to an #anchorlink the menu doesn’t always shrink. It seems to be 50/50 whether it triggers or not!
Any ideas why this would be? Thanks!
I’m using the following additional code to smooth scroll:
jQuery( document ).ready(function($) {
// Add smooth scrolling to all links
$(“a.anchor”).click(function() {
// Make sure this.hash has a value before overriding default behavior
if (this.hash !== “”) {
// Store hash
var hash = this.hash;
// Using jQuery’s animate() method to add smooth page scroll
// The optional number (800) specifies the number of milliseconds it takes to scroll to the specified area
$(‘html, body’).animate({ scrollTop: $(hash).offset().top -200}, 700);
} // End if
});
});