Today, I am going to build beautiful tabs design using HTML with CSS , this example of tabs are lightweight and build with pure CSS only.
It’s very common to use tabs in a sidebar or in the product page to show more information like description, option or special prices, etc.
The important thing about these tabs is to build with HTLM code example. These are simple and clean in design and very easy to customize. You can easily add more or fewer tabs without adding large code.
I did try to use minimal CSS and HTML to make them responsive. The code is pretty much straightforward and allows you to change quickly.
The HTML tabs are created without JavaScript at all. It’s simple CSS tabs.
We already share an awesome looking Stylish Responsive Pure CSS Tabs that is somewhat similar to this one but has a lot more features like, forms, heading and Google map, etc.
The purpose of making another tab here to minimize CSS and provide you easily editable code. Another thing, We are going to provide you another unique design in these tabs.
To change colors, adding more content, adding more or fewer tabs are so easy in these tabs but of course, you should know the bit of CSS and HTML.
The interesting things about these tabs are user and devices friendly, so it works on all type of devices. Let’s have a look step by step to look at how we build them!
Create HTML for Tabs
The HTML is structured simply. We need first to define main wrapper div .conveytabs then follow each tab as radio button and a section for content.
Each tab defines using a radio button and Label HTML tag as shown below. You also notice that each tab radio button has a unique ID.
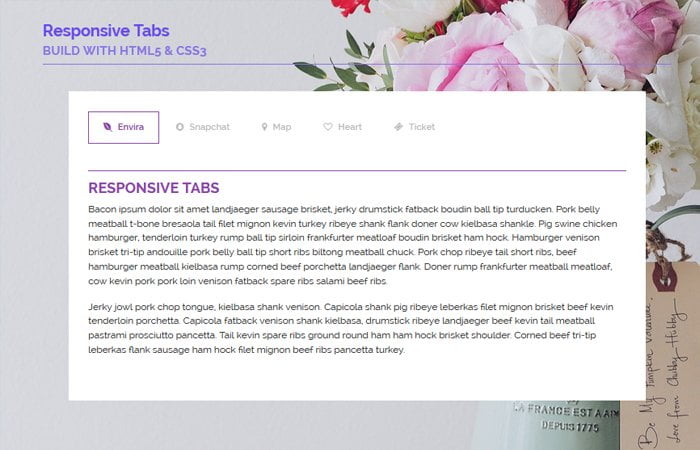
<input id="tab1" type="radio" name="tabs" checked>
<label for="tab1">Envira</label>

<input id="tab2" type="radio" name="tabs">
<label for="tab2">Snapchat</label>

<input id="tab3" type="radio" name="tabs">
<label for="tab3">Map</label>

<input id="tab4" type="radio" name="tabs">
<label for="tab4">Heart</label>

<input id="tab5" type="radio" name="tabs">
<label for="tab5">Ticket</label>
Next, as I said we need to define a section of each tab so here is code. you see each section should have a unique ID.
<section id="content1"> CONTENT GOES HERE </section>
<section id="content2"> CONTENT GOES HERE </section>
<section id="content3"> CONTENT GOES HERE </section>
<section id="content4"> CONTENT GOES HERE </section>
<section id="content5"> CONTENT GOES HERE </section>
Remember that you need to define the main div with the class name .conveytabs and place all the above HTML inside it. You can also find download source code which included a working demo.
Apply CSS to Tabs
The CSS also isn’t quite hard to implement. First, we need to do some basic styling like H2, IMG and p tags, etc but here we make sure to add display: none; for the section.
.conveytabs {
  min-width: 320px;
  max-width: 800px;
  padding: 35px;
  margin: 0 auto;
  background: #fff;
}
.conveytabs section {
  display: none;
  padding: 15px 0 0;
  border-top: 1px solid #8e44ad;
}
.conveytabs h2 {
	color:#8e44ad;
    text-align: left;
}
.conveytabs section p {
    font-size: 17px;
    font-weight: normal;
    line-height: 1.5;
    margin: 0;
    padding: 10px 0;
    text-align: left;
}
.conveytabs section img{
	 width:100%;
	 height:auto;
 }
 .conveytabs section ifram{
		width:100%;
		height:auto;
 }
Similar display: none; should be added for input radio buttons just like the example below. The label will have some overall styling.
.conveytabs input {
  display: none;
}
.conveytabs label {
  display: inline-block;
  margin: 0 0 -1px;
  padding: 15px 25px;
  font-weight: 600;
  text-align: center;
  color: #bbb;
  border: 1px solid transparent;
}
The most important thing, we need to define each tab and Content ID using ~ the mark and we make them display: block; which clicked on the tab. This will allow us to show Content of the particular tab section.
#tab1:checked ~ #content1,
#tab2:checked ~ #content2,
#tab3:checked ~ #content3,
#tab4:checked ~ #content4,
#tab5:checked ~ #content5 {
  display: block;
}
The rest of the CSS is pretty easy, you can download the source code and experiment with it. I hope you enjoy this tutorial and find it useful. If you have any feedback, please feel free to post in below comment section. If you want more tabs in HTML like these, keep vising us, we share code snippet using HTML and CSS with code example.