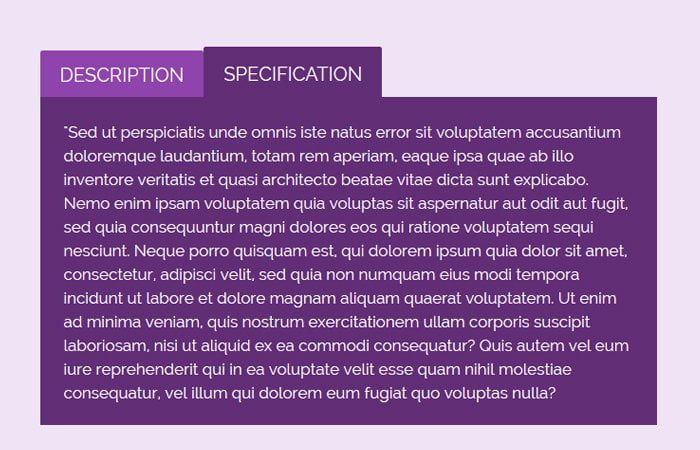
Today, We have a nice and colorful HTML tabs example with code and demo. It is built only with CSS and you don’t need to add any fallback.
Not only this but its also mobile friendly and easy to implement on any kind of website.
When we talk about Tabs, We have JavaScript in our mind, but this can easily do with pure CSS only. I am not only making the tabs work with CSS but also make it responsive, so it collaborates with all kind of devices and has extensive range browser support.
The HTML tabs nowadays are just about everywhere, you can view them on website sidebars, login/register pages, collection/personal website and so forth.
They are being used to show multiple blocks of content that you can move between without reloading the site. For example, on the authentication web page, you’d have several tabs will depend on.
One for the login form, one for sign up and one for security password restoration sometimes.
After you think of “tabs,” your brain may go to JavaScript. Watch out for a select a tab, hide all the panels, show the main one corresponding to tab just clicked on.
All the essential JavaScript libraries deal with tabs in a few real ways. But there’s a real way to do this same idea with “pure CSS.” In the same way, we did in the demo, let’s tackle this traditionally JavaScript project with the only CSS.
Create HTML Tabs from Scratch
For the HTML, we create an unordered list with the class “tabs”; this will hold our tabular content. Then we have li which include the radio button, label, and content. Each tab is defined with radio button and handles click function through a label.
The radio buttons will get the name “tabs, ” and each of them will have a Unique ID of “tab1” “tab2” and so on. As for the label, we have some text.
Below the radio buttons and their labels, we add the content containers. Each box has a class of “tab-content” and an ID of “tab-content1” “tab-content2” and so on.
We use these IDs to match the correct labels and display the right content attached to the label.
As you can see we used the ID of “tab1” on the first radio button, and we use “tab-content1” on the first content. This way we can easily display and hide them.
<ul class="tabs" role="tablist">
    <li>
        <input type="radio" name="tabs" id="tab1" checked />
        <label for="tab1"
               role="tab"
               aria-selected="true"
               aria-controls="panel1"
               tabindex="0">Description</label>
        <div id="tab-content1"
             class="tab-content"
             role="tabpanel"
             aria-labelledby="description"
             aria-hidden="false">
          <p>"Lorem ipsum dolor sit amet, consectetur adipisicing elit</p>
        </div>
    </li>
</ul>
Apply CSS Code Over Tabs
As styling goes, we’re going to apply some simple but visually appealing style to our content tabs. First, we set the width of the primary container to 650px.
Each tab aligns side by side and radio button will not need to show so that we will use the absolute position with an infinite value like -9999px.
.tabs {
  width: 650px;
  float: none;
  list-style: none;
  position: relative;
  margin: 80px 0 0 10px;
  text-align: left;
}
.tabs li {
  float: left;
  display: block;
}
.tabs input[type="radio"] {
  position: absolute;
  top: 0;
  left: -9999px;
}
To handle the click, we will use the : checked property.
.tabs [id^="tab"]:checked + label {
  top: 0;
  padding-top: 17px;
  background: #612e76;
}
.tabs [id^="tab"]:checked ~ [id^="tab-content"] {
  display: block;
}
There are many other things to do with CSS which you can find in the CSS o the demo. Let’s have a look the tabs demo for complete HTML and CSS code and example.