In today’s digital world, interactive elements like increment and decrement counters are commonly seen on websites and web applications. They are used for various purposes, such as adjusting quantities of items in a shopping cart or setting values in a configuration tool. In this blog post, we will walk you through the step-by-step process of designing a simple increment and decrement counter using JavaScript. T
Step 1: Constructing the HTML Structure
To begin, we’ll establish the foundational HTML structure for our counter. This structure will comprise a prominently displayed heading to showcase the current count, accompanied by two strategically placed buttons designed for effortless incrementing and decrementing of the count. Here’s the fundamental HTML structure we will implement:
<!DOCTYPE html>
<html lang="en">
<head>
<meta charset="UTF-8">
<meta name="viewport" content="width=device-width, initial-scale=1.0">
<title>Increment and Decrement Counter</title>
<link rel="stylesheet" href="styles.css"> <!-- Link to the external CSS file -->
</head>
<body>
<h1>Counter: <span id="counter">0</span></h1>
<button id="increment">Increment</button>
<button id="decrement">Decrement</button>
<script src="script.js"></script> <!-- Link to the external JavaScript file -->
</body>
</html>
Step 2: Styling Your Increment and Decrement Counter with CSS
The provided CSS code resets default browser styles, styles the page’s body with a light gray background and centered text, and enhances the appearance of headings, counters, and buttons with specific font sizes, colors, and padding. Hover effects are applied to buttons for a smoother user experience.
/* Reset default browser styles */
* {
margin: 0;
padding: 0;
box-sizing: border-box;
}

/* Body styles */
body {
font-family: Arial, sans-serif;
background-color: #f0f0f0;
text-align: center;
padding: 20px;
}

/* Container styles */
h1 {
font-size: 24px;
color: #333;
margin-bottom: 20px;
}

/* Counter styles */
#counter {
font-size: 36px;
color: #007bff;
}

/* Button styles */
button {
padding: 10px 20px;
font-size: 18px;
background-color: #007bff;
color: #fff;
border: none;
cursor: pointer;
margin: 10px;
border-radius: 5px;
transition: background-color 0.2s;
}

button:hover {
background-color: #0056b3;
}
Step 3: Adding JavaScript Functionality
Next, we need to add JavaScript to make our counter functional. We’ll use event listeners to respond to button clicks and update the count accordingly. Here’s the JavaScript code:
// Get references to HTML elements
const counterElement = document.getElementById('counter');
const incrementButton = document.getElementById('increment');
const decrementButton = document.getElementById('decrement');
// Initialize counter value
let counter = 0;
// Function to update the counter display
function updateCounter() {
counterElement.textContent = counter;
}
// Event listener for the increment button
incrementButton.addEventListener('click', function () {
counter++;
updateCounter();
});
// Event listener for the decrement button
decrementButton.addEventListener('click', function () {
if (counter > 0) {
counter--;
updateCounter();
}
});
// Initial display
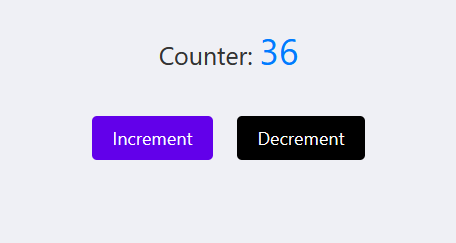
updateCounter();Styling Increment and Decrement Counter In JavaScript Demo
Creating an increment and decrement counter in JavaScript is a fundamental skill for web developers. This simple example serves as a starting point for building more complex interactive elements in your web projects.