Landing pages are crucial for grabbing attention and converting visitors into users or customers. But creating them from scratch can be time-consuming. That’s where Bootstrap 5 comes in! This popular framework offers a bunch of pre-built components and styles to simplify the process.
In this post, we’ll walk you through creating a basic landing page with Bootstrap 5. No coding experience necessary, just follow these steps!
Step1: HTML Structure Of Landing Page
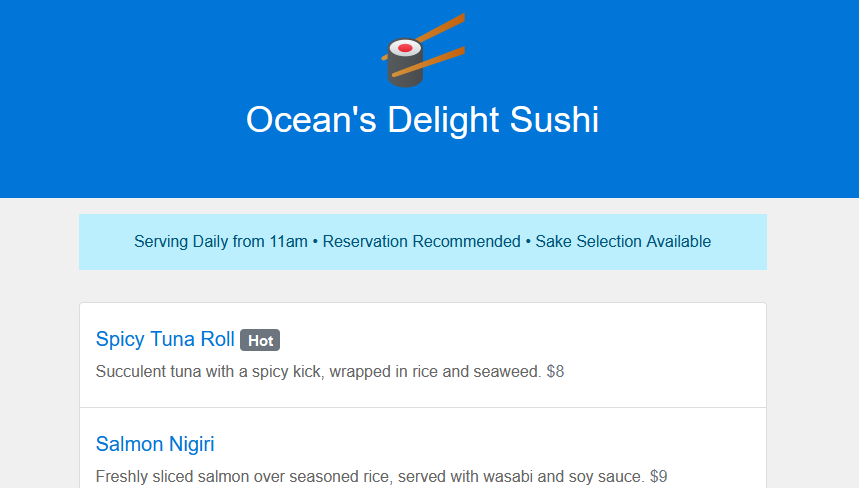
This code builds a landing page for a sushi restaurant called “Ocean’s Delight Sushi” using Bootstrap classes for layout and styling. It displays the restaurant’s information, menu items, and a reservation call to action. Here is the code:
<section class="bg-primary text-center py-5"> <img src="https://img.icons8.com/fluency/100/000000/sushi.png"/> <h1 class="text-light">Ocean's Delight Sushi</h1> </section> <section class="my-3"> <div class="container"> <div class="row"> <div class="col-lg-10 offset-lg-1"> <div class="alert alert-primary text-center "> Serving Daily from 11am • Reservation Recommended • Sake Selection Available </div> </div> </div> </div> </section> <section> <div class="container my-3"> <div class="row"> <div class="col-lg-6 offset-lg-1"> <ul class="list-group"> <li class="list-group-item pt-4"> <h5>Spicy Tuna Roll <span class="badge bg-secondary">Hot</span></h5> <p>Succulent tuna with a spicy kick, wrapped in rice and seaweed. <span class="text-secondary">$8</span></p> </li> <li class="list-group-item pt-4"> <h5>Salmon Nigiri</h5> <p>Freshly sliced salmon over seasoned rice, served with wasabi and soy sauce. <span class="text-secondary">$9</span></p> </li> <li class="list-group-item pt-4"> <h5>Sushi Platter</h5> <p>An assortment of our finest sushi selections, perfect for sharing. <span class="text-secondary">$22</span></p> </li> <li class="list-group-item pt-4"> <h5>Tempura Shrimp Roll</h5> <p>Crunchy shrimp tempura with avocado, cucumber, and spicy mayo. <span class="text-secondary">$12</span></p> </li> <li class="list-group-item pt-4"> <h5>Dragon Roll</h5> <p>Eel and cucumber roll topped with thinly sliced avocado and teriyaki sauce. <span class="text-secondary">$15</span></p> </li> </ul> </div> <div class="col-lg-4"> <div class="card mb-5"> <div class="card-header"> Reserve Your Table </div> <div class="card-body"> <h5 class="card-title">Secure Your Spot!</h5> <p class="card-text">Popular times fill quickly. Reserve your table online now.</p> <a href="#" class="btn btn-primary">Make a Reservation</a> </div> </div> <h6 class="font-weight-bold">Opening Hours</h6> <p>Tuesday – Sunday 10am – 9pm</p> <h6 class="font-weight-bold">Location</h6> <p>456 Harbor Lane Sydney, New South Wales 2000</p> <h6 class="font-weight-bold">Contact</h6> <p>T: <a href="#">02 9876 5432</a> E: <a href="#">[email protected]</a></p> </div> </div> </div> </section>
Step2: Styling the Restaurant Landing Page
This code applies custom styles on top of Bootstrap’s defaults. It defines colors, fonts, spacing, and adjustments for a clean and professional look for the restaurant’s landing page.
/* General body styling */
body {
font-family: 'Helvetica Neue', Helvetica, Arial, sans-serif;
color: #333;
background-color: #f0f0f0;
}

/* Navigation bar styling */
.bg-primary {
background-color: #0275d8 !important; /* Deep blue background */
}

.text-light {
color: #ffffff !important;
}

/* Center text sections */
.text-center {
text-align: center;
}

.py-5 {
padding-top: 3rem !important;
padding-bottom: 3rem !important;
}

.my-3 {
margin-top: 1rem !important;
margin-bottom: 1rem !important;
}

/* Alert box styling */
.alert-primary {
background-color: #bbeffd;
color: #015477;
border-radius: 0;
border: none;
}

/* List group styling for menu items */
.list-group-item {
background-color: #ffffff;
border: 1px solid #ddd;
}

.list-group-item h5 {
color: #0275d8;
}

.list-group-item p {
color: #666;
}

.badge {
background-color: #f0ad4e;
color: #ffffff;
}

.text-secondary {
color: #6c757d !important;
}

/* Card styling for reservations */
.card {
box-shadow: 0 0 15px rgba(0, 0, 0, 0.1);
}

.card-header {
background-color: #0275d8;
color: #ffffff;
}

.btn-primary {
background-color: #5cb85c;
border-color: #4cae4c;
}

/* Additional styling for location, hours, and contact */
.font-weight-bold {
font-weight: bold;
}

a {
color: #0275d8;
text-decoration: none;
}

a:hover {
color: #014f86;
text-decoration: underline;
}

/* Responsive adjustments */
@media (max-width: 992px) {
.offset-lg-1 {
margin-left: 0;
}
}
Step3: Including CDN
https://stackpath.bootstrapcdn.com/bootstrap/5.0.0-alpha1/css/bootstrap.min.css
Step-by-Step Guide To Simple Landing Page With Bootstrap 5 Demo
Creating a landing page with Bootstrap 5 doesn’t have to be complicated. By following these steps, you can build a responsive and attractive landing page that helps you achieve your marketing goals.