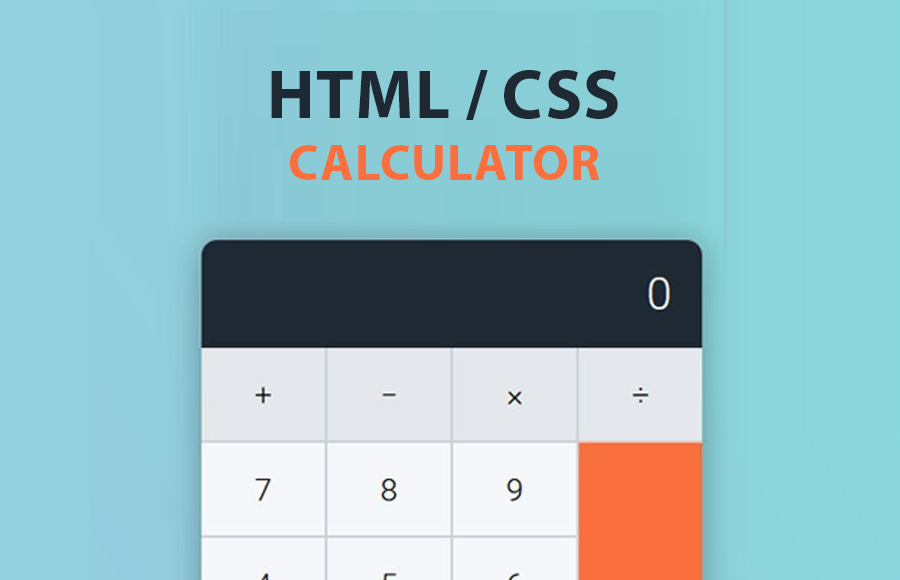
Are you ready to dive into the exciting world of web development? In this tutorial, we’ll walk you through the process of building a simple calculator using HTML and CSS.
Whether you’re a beginner or an experienced programmer, this step-by-step guide will help you create a functional and visually appealing calculator that you can showcase on your website or portfolio. Let’s get started and unleash your creativity!
Step 1: Setting Up the HTML Structure
Before we start coding, let’s set up the basic HTML structure for our calculator. Open your favorite code editor and create a new HTML file. Inside the <body> tags, create a <div> element with a unique ID to serve as the calculator container.
<!DOCTYPE html>
<html>
<head>
  <title>Simple Calculator</title>
  <link rel="stylesheet" href="style.css">
</head>
<body>
  <div id="calculator">
    <!-- Calculator elements will go here -->
  </div>
</body>
</html>
Step 2: Styling with CSS
Now it’s time to add some visual appeal to our calculator. Create a new CSS file called style.css and link it to your HTML file. We’ll use CSS Grid to position and style the calculator’s buttons.
#calculator {
  display: grid;
  grid-template-columns: repeat(4, 1fr);
  gap: 10px;
  padding: 20px;
  background-color: #f5f5f5;
  border: 1px solid #ccc;
  border-radius: 5px;
}

/* Style the calculator buttons */
#calculator button {
  padding: 10px;
  font-size: 18px;
  text-align: center;
  background-color: #fff;
  border: 1px solid #ccc;
  border-radius: 3px;
  cursor: pointer;
}

/* Add styles for the operator buttons */
#calculator .operator {
  background-color: #f0ad4e;
  color: #fff;
}

/* Add styles for the equal button */
#calculator .equal {
  background-color: #5cb85c;
  color: #fff;
}

/* Add styles for the clear button */
#calculator .clear {
  background-color: #d9534f;
  color: #fff;
}
Step 3: Adding Buttons and Functionality
Let’s now add the buttons to our calculator and implement their functionality using JavaScript. Inside the <div id="calculator">, add a series of <button> elements for numbers, operators, and special functions like Clear and Equal.
<div id="calculator">
  <button>7</button>
  <button>8</button>
  <button>9</button>
  <button class="operator">+</button>
  <button>4</button>
  <button>5</button>
  <button>6</button>
  <button class="operator">-</button>
  <button>1</button>
  <button>2</button>
  <button>3</button>
  <button class="operator">*</button>
  <button class="clear">C</button>
  <button>0</button>
  <button class="equal">=</button>
  <button class="operator">/</button>
</div>
Step 4: Writing JavaScript Logic
To make our calculator functional, we’ll write the JavaScript logic to handle button clicks and perform calculations. Create a new JavaScript file called script.js and link it to your HTML file.
// Get the calculator container element
const calculator = document.getElementById('calculator');

// Get the display element
const display = document.createElement('input');
display.setAttribute('type', 'text');
display.setAttribute('readonly', 'readonly');
calculator.appendChild(display);

// Add event listener to handle button clicks
calculator.addEventListener('click', (event) => {
  const button = event.target;
  if (button.matches('button')) {
    const value = button.textContent;
    if (value === '=') {
      calculate();
    } else if (value === 'C') {
      clearDisplay();
    } else {
      updateDisplay(value);
    }
  }
});

// Function to update the display
function updateDisplay(value) {
  display.value += value;
}

// Function to clear the display
function clearDisplay() {
  display.value = '';
}

// Function to perform the calculation
function calculate() {
  try {
    const result = eval(display.value);
    display.value = result;
  } catch (error) {
    display.value = 'Error';
  }
}
Step 5: Final Touches
With the HTML, CSS, and JavaScript in place, it’s time to see your calculator in action! Open the HTML file in a web browser, and you’ll find a fully functional calculator. You can perform basic calculations, clear the display, and get the result with a single click.
Feel free to experiment with the CSS styles and customize the calculator to match your website’s design. You can also extend the functionality by adding more buttons or advanced operations.
Frequently Asked Questions
Q: Can I use this calculator on my website?
A: Absolutely! This calculator is designed to be easily integrated into any website. Simply copy the HTML, CSS, and JavaScript code and paste it into your web page.
Q: Can I modify the calculator’s design?
A: Yes, you can customize the calculator’s design by modifying the CSS styles. Feel free to add your own colors, fonts, and layout to match your website’s theme.
Q: Is it possible to add more advanced operations to the calculator?
A: Yes, you can enhance the calculator by adding more buttons and extending the JavaScript logic. You can include trigonometric functions, exponentiation, or any other operations you need.
Q: How can I make the calculator responsive?
A: To make the calculator responsive, you can use CSS media queries to adjust the layout and font sizes based on the screen size. This will ensure that the calculator looks great on both desktop and mobile devices.
Conclusion
Congratulations! You have successfully built a simple calculator using HTML and CSS. By following this tutorial, you’ve gained hands-on experience in web development and learned how to create a functional and visually appealing calculator.
Feel free to explore and enhance your calculator’s capabilities as you continue your coding journey. Keep coding and enjoy the power of HTML and CSS!
