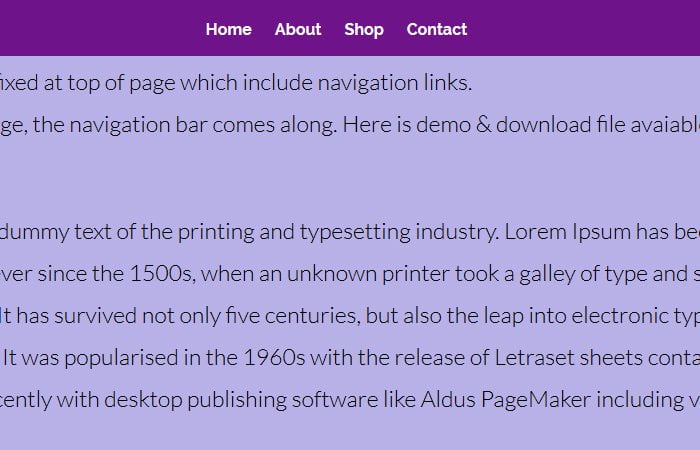
It’s time to create simple but pure CSS sticky header on scroll that will stay fixed at the top the page. When user on scroll down the page, the fixed header comes along with the mouse scrolling.
Header navigation will stick at the top of the page but when the user scrolls down the webpage, the main navigation will come with across.
I did compile the demo of the fixed sticky header with downloadable source file. You can check it and see how it’s actually work on live sites.
It will make the user easy to navigate through the website. The sticky thing is very popular in nowadays web development and make the web page more attractive and give the user a way to navigate easily.
The sticky isn’t only worked with a header but it also works with footer and sidebar. It is so easy to create a sticky header using CSS and HTML. You don’t need to use any jQuery or JavaScript.
The solution we are going to provide you should work on all the key browsers.
Please remember that we are not going to animate the header here but if you are looking for that, you can have a look our previous post about animated header solution which makes with CSS3 and jQuery.
Basic HTML for Sticky Header
Let’s start with HTML and the code is really simple. You just need to create a nav bar and then add an section element where you will add content. See the example code below.
<nav class="ccsticky-nav">
    <ul>
      <li><a href="#">Home</a></li>
      <li><a href="#">About</a></li>
      <li><a href="#">Shop</a></li>
      <li><a href="#">Contact</a></li>
    </ul>
</nav>
Now let’s add a content section just right below the nav bar where you can add content. See code below.
<section>
	<h1>Scroll Down</h1>
</section>
CSS Styles for Sticky Header
For the header, we’re going to make the nice blue background and the height 60 pixels. To make it fixed at the top, we simply take advantage of fixed position element and set-top value to zero. After that, the width should be set to 100%. In our case, the height is 60px;
.ccsticky-nav {
  width: 100%;
  height: 60px;
  position: fixed;
  top: 0;
  background: #139ed8;
}
Now lastly, to style the main menu, we’re going to add padding, align the text to the center of the page. We’re going to add a style to the unordered list ul tag. Add the CSS margin property, let’s set the margin to 0 auto.
.ccsticky-nav ul {
  padding: 20px;
  margin: 0 auto;
  list-style: none;
  text-align: center;
}
Next, we need to style the main menu list li items which are the actual links that are within the navigation bar.
Set the ‘display’ property to inline-block. We’re going to add some margin 10 pixels on the left and right-hand side and then we’re going to set the font size to 1rem.
To style the main menu’s links those are the hyperlinks within the ‘a’ attribute, the ‘a href’. Set ‘text-decoration’ to none so there’s no underline.
We’re going to color the font to white. Add 10 pixels of padding and change the font to capitalize by setting the text-transform property.
.ccsticky-nav ul li {
  display: inline-block;
  margin: 0 10px;
}
.ccsticky-nav ul li a {
  padding: 10px 0;
  color: #fff;
  font-size: 1rem;
  text-decoration: none;
  font-weight: bold;
  transition: all 0.2s ease;
}
lastly, to the menu, we add a bit of spunk to the menu, add the ‘a:hover’ pseudo-class. For when we roll over the menu and we’re going to make the hover color dark blue.
.ccsticky-nav ul li a:hover {
  color: #34495E;
}
In last we need to add some CSS for the content area. This is important because we need to set margin-top: 60px; because we used the height 60px for our header so we need to at least match the header height with margin-top of the content area.
section {
  width: 100%;
  padding: 50px;
  background: #fff;
  border-bottom: 1px solid #ccc;
  height: 1024px;
  text-align: center;
   margin-top: 60px;
}
OK, that’s it! We’ve finished everything. We’ve done our HTML, we’ve just finished out CSS for sticky header on scroll.
Your menu and header look amazing. Tweak it if you want, change it up a little bit.
Maybe add a background image instead of a color I hope you enjoyed this tutorial. Don’t forget to comment and subscribe. Good luck!