There is no doubt that default bullet points for list items look old-fashioned on well-designed web pages. It’s a basic practice to style the list items in a way that these lists should look attractive. So, in this tutorial, we are going to design custom bullet points for list items using CSS.
The idea is simple, we’ll remove the default bullets and use a background image along with each list item. The background image may be a tick icon or according to your choice. It means you can display a custom image icon instead of bullets for HTML lists.
Similarly, the size and image format may be SVG, PNG, or JPG can be set according to your requirements. You can check the final output on the demo page to see how custom points look. Well! let’s get started with HTML code to create custom bullet points.
The HTML Code
In HTML, create an unordered list, wrap it into a div element and define its class name "uvp-list". Besides this, you don’t need to do any extra coding. There is no limit for list items, you can create as many as you want.
<div class="uvp-list">
<ul>
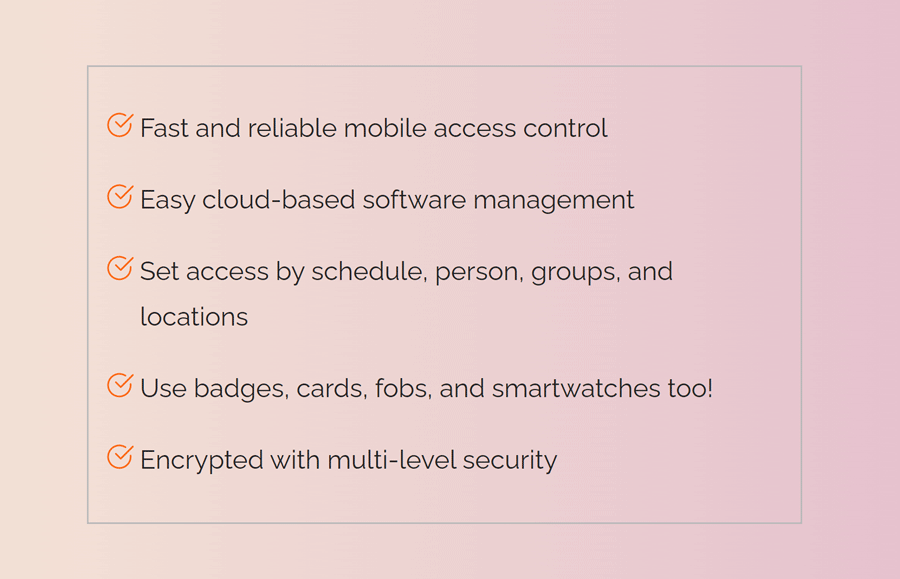
<li>Fast and reliable mobile access control</li>
<li>Easy cloud-based software management</li>
<li>Set access by schedule, person, groups, and locations</li>
<li>Use badges, cards, fobs, and smartwatches too!</li>
<li>Encrypted with multi-level security</li>
</ul>
</div>
You can also use the ol tag (for ordered list) instead of ul. Similarly, you can also place further HTML elements inside the li tag according to your needs.
The CSS Style for Custom Bullet Points
After creating the HTML code, now it’s time to style the list for custom bullet points. So, target the ul element of the uvp-list class and define list-style with none value in order to remove the default bullet points. Likewise, define the max-width property according to the length of the list items. Display it as a block element and specify padding and margin properties as follows:
.uvp-list ul {
  list-style: none;
  max-width: 440px;
  border: solid 1px #bababa;
  padding: 1rem 2rem;
  display: block;
  margin: 10px auto;
}
Now, select the li element (using greater than symbol > directly child) of ul that comes under upv-list class. Use the CSS clear property with the left value to avoid floating after each list item. Similarly, define the padding to leave some space at the top and bottom of each list item.
.uvp-list ul > li {
  clear: left;
  padding: .5rem 0;
}
We need a placeholder for icons that will show in the place of bullet points. For this purpose, we’ll use the before pseudo selector with a fixed dimension and float it to the left. So, target the li with the before pseudo-class and define the content property with a blank value (just quotations). In the same way, specify height and width with a 1.5rem value. Likewise, define the float, margin-left, background-position, background-repeat, and background-size properties as follows:
.uvp-list ul > li:before {
  content: "";
  height: 1.5rem;
  width: 1.5rem;
  display: block;
  float: left;
  margin-left: -1.5rem;
  background-position: center;
  background-repeat: no-repeat;
  background-size: 100%:
}
Select the li element with the same method (as selected above), and define the background property with url value. Use the "cover" value for the background-size property and set the background-position to the center. Similarly, define the padding property with .15rem to leave some space around the icon.
If you want to set a custom icon, place the destination path to the url value of the background property.
.uvp-list ul > li:before {
  background: url("https://info.openpath.com/hubfs/checkmark-round-orange.svg");
  background-size: cover;
  background-position: center;
  padding: .15rem;
}
That’s all! I hope you have successfully created custom bullet points for list items. If you have any questions or suggestions, please let me know by comment below. Happy codding 😀