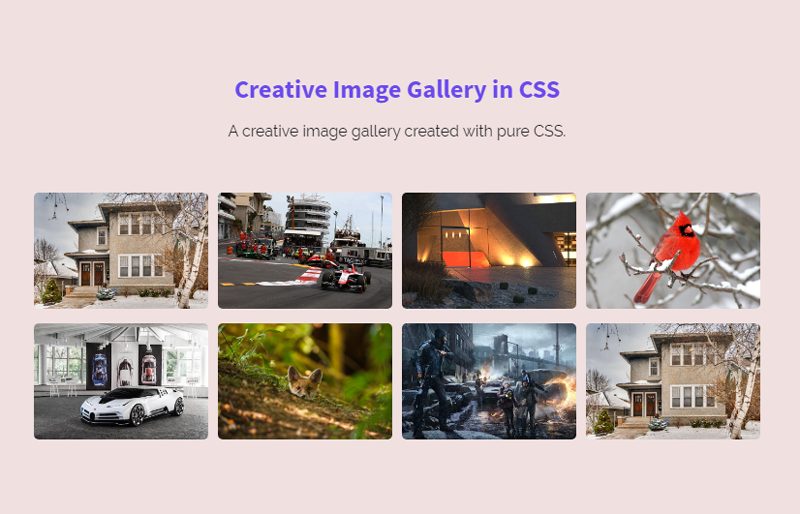
In this tutorial, you’ll come to know how to create a creative image gallery using HTML and CSS. Before going further, I’ll recommend checking the demo page.
An image gallery is a great feature in web design to show your photos in the eye-catchy style. Whether you are running a photography blog or creating an eCommerce website template, the image gallery is essential in it. Likewise, an image gallery can be placed on a personal portfolio, news blog or any business website to display the relevant contents.
This image gallery acts just like a normal and simple JS gallery. It comes with a very basic thumbnail layout when a user selects a thumbnail, a lightbox opens and displays that photo. Do you know why this image gallery is creative? because it’s completed in just a few lines of CSS.
Creative Image Gallery HTML Structure
The HTML for image gallery consists of two main parts. The first part contains thumbnails and the other containing a lightbox for each image. Both parts are wrapped into a div container that has a class name “container”.
<div class="container">
<!-- Thumbnails -->
   <a href="#img1">
   <img class="small" src="img/image-1.jpg">
   </a>
   <a href="#img2">
   <img class="small" src="img/image-2.jpg">
   </a>
   <a href="#img3">
   <img class="small" src="img/image-3.png">
   </a>
   <a href="#img4">
   <img class="small" src="img/image-4.jpg">
   </a>
   <a href="#img5">
   <img class="small" src="img/image-5.jpg">
   </a>
   <a href="#img6">
   <img class="small" src="img/image-6.jpg">
   </a>
   <a href="#img7">
   <img class="small" src="img/image-7.jpg">
   </a>
   <a href="#img8">
   <img class="small" src="img/image-1.jpg">
   </a>

 <!--Lightboxes-->
   <a href="#_" class="lightbox" id="img1">
      <div>
         <img src="img/image-1.jpg"/>
         <p> The mighty Bear </p>
      </div>
   </a>
   <a href="#_" class="lightbox" id="img2">
      <div>
         <img src="img/image-2.jpg"/>
         <p> The Racing</p>
      </div>
   </a>
   <a href="#_" class="lightbox" id="img3">
      <div>
         <img src="img/image-3.png"/>
         <p> The Light </p>
      </div>
   </a>
   <a href="#_" class="lightbox" id="img4">
      <div>
         <img src="img/image-4.jpg"/>
         <p> Cute Bird</p>
      </div>
   </a>
   <a href="#_" class="lightbox" id="img5">
      <div>
         <img src="img/image-5.jpg"/>
         <p> The Car</p>
      </div>
   </a>
   <a href="#_" class="lightbox" id="img6">
      <div>
         <img src="img/image-6.jpg"/>
         <p> The Fox</p>
      </div>
   </a>
   <a href="#_" class="lightbox" id="img7">
      <div>
         <img src="img/image-7.jpg"/>
         <p> The War</p>
      </div>
   </a>
   <a href="#_" class="lightbox" id="img8">
      <div>
         <img src="img/image-1.jpg"/>
         <p> The House</p>
      </div>
   </a>
</div>
Keep the same order between image thumbnails and lightbox links.
The CSS Styles
In CSS, first of all, define some basic styles for “container” (that contains thumbnails). You can customize its max-width (that is 800px) according to your needs. Similarly, the “small” class specifies image thumbnails, you can set a custom width value as you want.
.container {
	display: block;
	max-width: 800px;
	margin: 0 auto;
	text-align: center;
}

.small {
	width: 180px;
	height: auto;
	position: relative;
	margin: 3px;
	border-radius: 5px;
}

.small:hover {
	-webkit-transform: scale(1.03, 1.03);
	transform: scale(1.03, 1.03);
}
Now, set styles for image lightbox. Keep it invisible by using CSS display none property. We’ll trigger it (using CSS target selector) in the next step.
.lightbox {
	display: none;
	position: fixed;
	top: 0;
	left: 0;
	z-index: 1;
	width: 100%;
	height: 100%;
	background: rgba(0, 0, 0, 0.7);
}
Finally, its time to reveal an image lightbox when the user clicks the thumbnail. Just add the following CSS code into your project and done.
a div {
	position: relative;
	margin: auto auto;
	text-align: center;
}

.lightbox:target {
	display: -webkit-box;
	display: flex;
}

.container a {
	text-decoration: none;
}

.container p {
	font-size: 20px;
	color: white;
	font-family: 'Poiret One';
}
That’s all! I hope you like this CSS creative image gallery. If you have any questions or suggestions related to this image gallery, don’t hesitate to comment below.